
How-to
Before you pay for a meal planning app: 6 things to check

Short answer
To choose a meal planning app, check six things before you pay: turn the price into a yearly number, see a real plan before any paywall, read the recent 1- and 2-star reviews, know how to cancel before a trial starts, check that your household can share one plan, and test the food filter with one ingredient you never eat.
A lot of people are choosing a meal planner at the same time this month. Mealime shut down on October 21, 2026, and if it ran your week for years, you need something new. PlateJoy users went through the same thing when PlateJoy closed in July 2025. If you want the shortlist first, the best meal planning apps compares nine of them. We build WeeknightBite, one of the apps you might be looking at, so take this with that in mind. Everything below works on any app, ours included, and all of it can be done on your phone.
Why check an app yourself?
Because most of what you see about an app before you install it was paid for. The creator who found a “game-changer” meal app on TikTok or Instagram is often working with the app, and a sponsored video can look a lot like a friend’s tip. That’s normal, and it doesn’t make the app bad. It just means the video can’t tell you what the app costs, how hard it is to leave, or whether it works for your house. You find that out by checking the app itself.
1. Turn the price into a yearly number
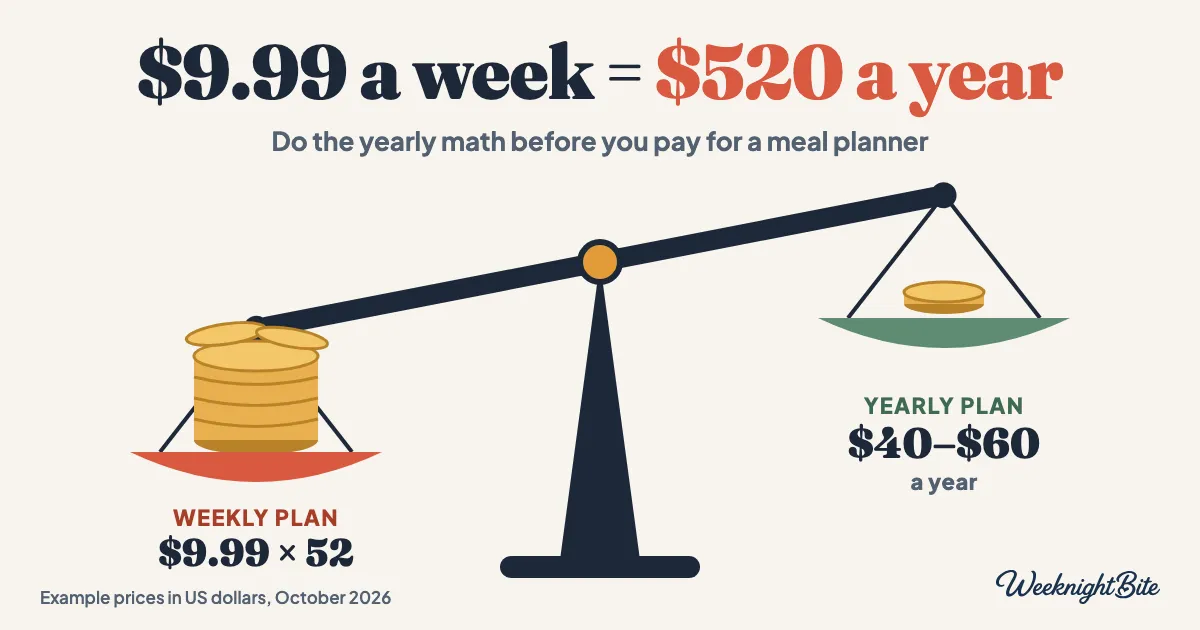
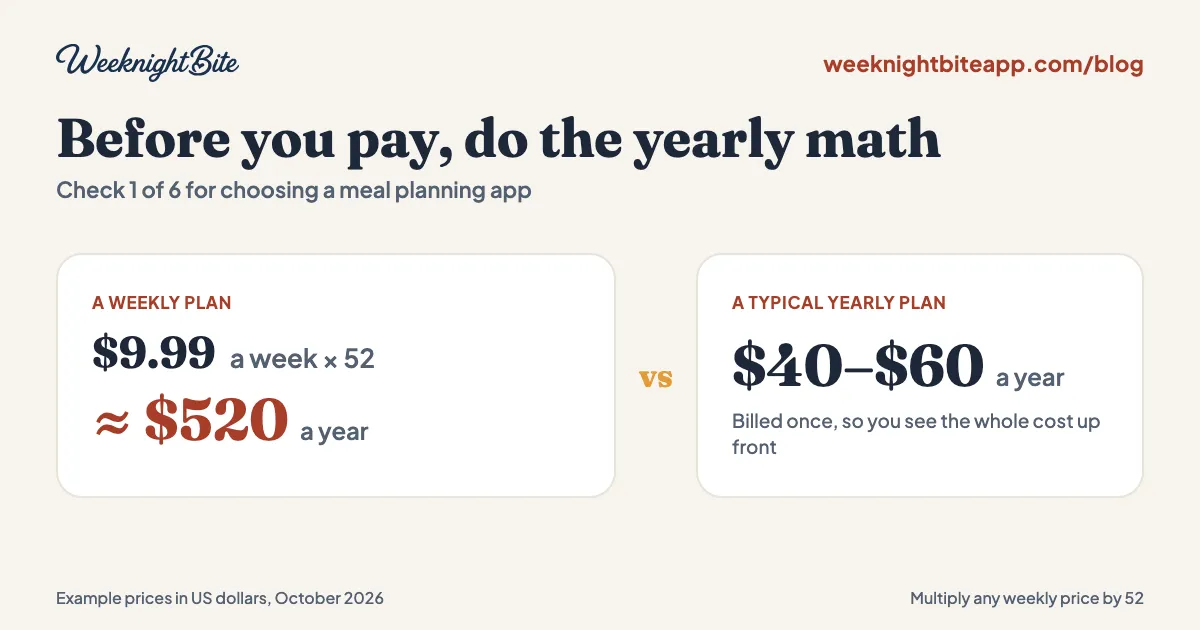
Multiply the price by how often you pay, so every app is compared in the same unit: dollars a year. Weekly billing has become common, especially on newer apps, and a small weekly number hides a big yearly one.
| How it’s billed | Example price | Times | About a year |
|---|---|---|---|
| Weekly | $9.99 | × 52 | $520 |
| Monthly | $7.99 | × 12 | $96 |
| Yearly | $40 to $60 | × 1 | $40 to $60 |
The weekly row is the one to watch: $9.99 × 52 = $519.48. That is roughly ten times what a typical yearly plan costs. A weekly plan can still make sense if you only want an app for a month, but then put that month in your calendar.
How to do it: on the price screen, read the small print under the big number. It usually says “billed weekly”, “billed monthly” or “billed annually”. If the screen only shows a per-week or per-day price, look for the total you’ll actually be charged, and do the multiplication before you tap anything.
2. See a real plan before you pay
You should see the thing you’re paying for, a week of dinners and the grocery list it makes, before you’re asked for money. Be wary of an app that asks a long quiz about your goals, tastes and schedule, then shows a paywall before you’ve seen a single plan. The quiz makes you feel invested, and you still don’t know what you’re buying.
How to do it:
- Look for a free tier. Some apps let you plan a week and get the grocery list for free, and charge only for extras. Then you can use the real thing for as long as you like.
- If there’s only a trial, check whether you can close the paywall and still look around. Many paywalls have a small “x” or “not now” in a corner.
- Look at the store screenshots for an actual plan and list, not only photos of food.
3. Read the 1- and 2-star written reviews, not the star average
The star average is the least useful number on the page. Some apps ask you to rate them during setup, before you’ve planned a single dinner, and a rating given before you’ve used an app tells you little about it. The written reviews, especially the recent low ones, tell you what goes wrong after a few weeks: billing, cancelling, a list that doesn’t match the recipe.
How to do it on iPhone: open the app’s page in the App Store, scroll to Ratings & Reviews, tap See All, then change the sort to Most Critical or Most Recent. On Android: open the app’s page in Google Play, tap Ratings and reviews, filter by 1 star or 2 stars and sort by newest. The labels move around a little between versions.
Read ten of them. You’re looking for the same complaint showing up again and again, especially in the last few months. One angry review is a bad day; ten reviews about surprise charges is a pattern.
4. Know how to cancel before you start a trial
Find the cancel button before you need it. On a phone, subscriptions are cancelled in the store, not by deleting the app: deleting it does not stop the billing.
- iPhone: open Settings, tap your name, tap Subscriptions, choose the app and tap Cancel Subscription. Apple’s own steps are here.
- Android: open the Google Play app, tap your profile picture, then Payments & subscriptions and Subscriptions, choose the app and tap Cancel subscription. Google’s steps are here.
Before you start the trial, check two more things. First, what it turns into: a trial that rolls into a yearly plan charges you the whole year on the day it ends, while one that rolls into a weekly plan charges you every week until you stop it. The price screen usually has one option already selected, so look at which one before you tap. Second, when it ends. Set a reminder on your phone for two days before. Apple asks you to cancel a trial at least 24 hours before it ends, so a reminder for the last day can be too late.
5. Check whether your household can share it
If two people cook or shop, one person’s plan on one phone is only half a plan. Check two things before you pay:
- Does your partner need their own subscription? Some apps charge per person. Look for words like “household” or “family” on the price screen or in the app’s help pages.
- Can two phones see the same plan and the same list? If one of you has an iPhone and the other an Android phone, check that the app runs on both and that the list stays in sync between them.
How to test it: during the trial, invite your partner, add an item to the list on one phone, and watch the other. If it shows up within a few seconds, the list works for two. If your partner won’t plan with you at all, that’s a different problem, and we wrote about it here.
6. Test the allergy or dislike filter with one ingredient
Pick one ingredient you never eat, set it as a dislike or exclusion, and see whether it disappears. Filters are only as good as the ingredient data behind them, and you want to find a gap before you rely on it.
How to do it:
- Choose something specific and common, like mushrooms or cilantro.
- Set it as excluded in the app’s food preferences.
- Make a plan for a week or two and open every recipe. Check the ingredient lists, not just the titles.
- Check the grocery list for it too.
- Look for it hiding inside other ingredients, such as a mushroom broth or a sauce.
If it turns up, the filter isn’t safe to trust on its own. For a serious allergy, always read the ingredients yourself, whatever the app says.
A checklist to keep open while you try apps
| Check | What to do | What to watch for |
|---|---|---|
| Yearly price | Multiply by 52, 12 or 1 | A small weekly price that adds up to hundreds a year |
| A real plan | Find a free tier, or close the paywall | A long quiz, then a paywall, and no plan seen |
| Low reviews | Sort by most critical or most recent | The same billing complaint, again and again |
| Cancelling | Find it in Settings or Google Play first | A trial that turns into a yearly charge |
| Household | Add an item on one phone, check the other | A second subscription for your partner |
| Filters | Exclude one ingredient, check two weeks | The ingredient inside a sauce or broth |
How does WeeknightBite answer these checks?
We built WeeknightBite with these checks in mind, so here is how it stands on them. US prices, as of October 2026:
- Price: the weekly plan, the grocery list, household sharing and both ways to cook every recipe are free. The paid tier, WeeknightBite Savvy, is $7.99 a month or $59.99 a year, with a 14-day free trial on both. There’s no weekly plan.
- A real plan: because planning is free, you can plan real weeks and shop from the list before deciding whether Savvy is worth it to you. How the grocery list is built from a plan shows what you get.
- Cancelling: Savvy is billed through the App Store or Google Play, so you cancel it with the steps in check 4, and what’s free stays free.
- Household: your household shares one plan, one list and your recipes for free, on iPhone and Android. One Savvy subscription covers everyone in it.
- Filters: you set your diets and dealbreakers once, during setup. Test them the way check 6 describes.
Every recipe is cooked and tested by a person before it goes in the app. WeeknightBite is free on iPhone, iPad and Android. If you’re coming from Mealime, paste your recipe links on our Mealime page, and they’ll be waiting in your account. People who send their recipes there get 50% off the first year of the yearly plan ($29.99 instead of $59.99); check that page for the current terms.
Frequently asked questions
How much should a meal planning app cost?
Many yearly plans cost about $40 to $60 a year. Whatever the app charges, turn it into a yearly number first, because a weekly price that looks small can add up to several hundred dollars a year.
How do I cancel a meal planning app trial on iPhone?
Open Settings, tap your name, tap Subscriptions, choose the app and tap Cancel Subscription. Apple asks you to cancel a trial at least 24 hours before it ends, and deleting the app does not cancel it.
Should I trust an app’s star rating?
Use it as a starting point, not a verdict. Read the recent 1- and 2-star written reviews too, since some apps ask for a rating before you’ve used them, which says little about the app.
What should Mealime users do now?
Save the recipes you actually cook first, while Mealime’s recipe pages are still online, then try a replacement using the checks above. Our guide on how to export your Mealime recipes walks through saving them, and Mealime alternatives compared lays out the options side by side.
Is WeeknightBite available yet?
Yes. WeeknightBite is free to download on iPhone, iPad and Android; the button at the end of this post takes you to the App Store or Google Play. Coming from Mealime? Paste your recipe links on our Mealime page, and they will be waiting in your account.